Projects
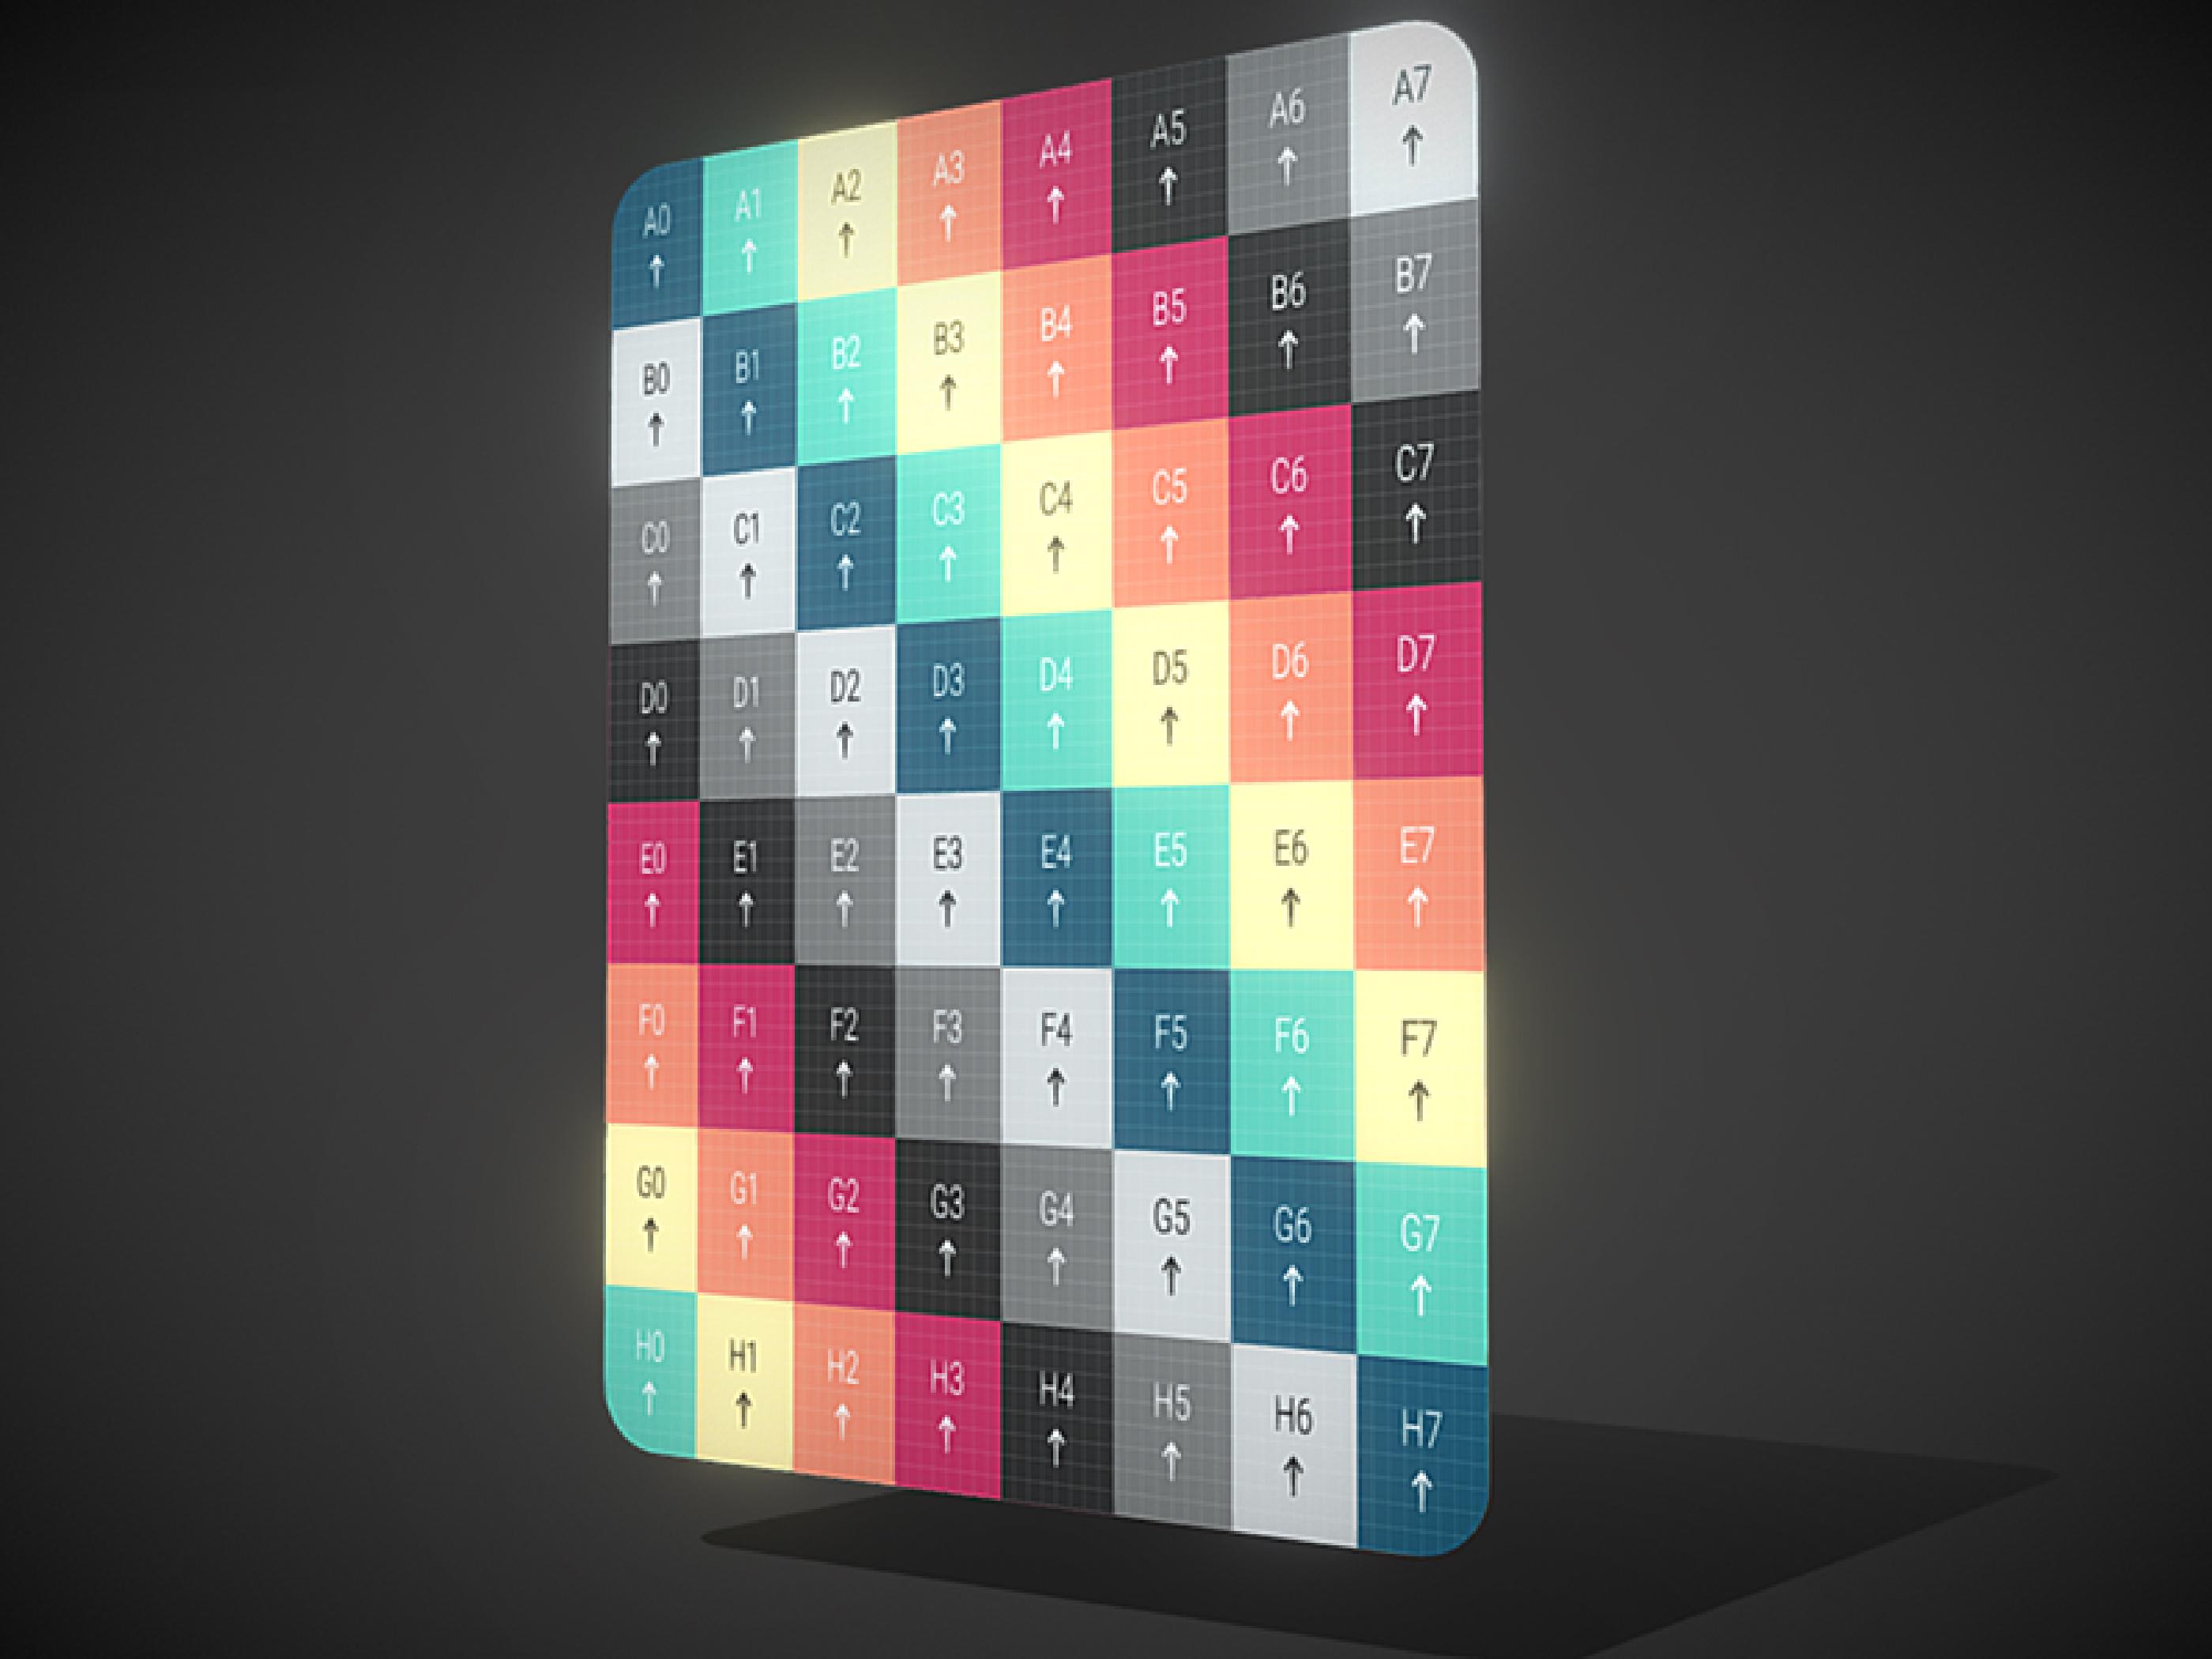
The first thing a card game needs is… cards.
And why 3D? While it would be easier to do it in 2D, I decided to go with 3D to have more options for effects and to differentiate my game from others.
I was going to need a 3D editor, and in my modest opinion, Blender is unbeatable in terms of quality versus price.
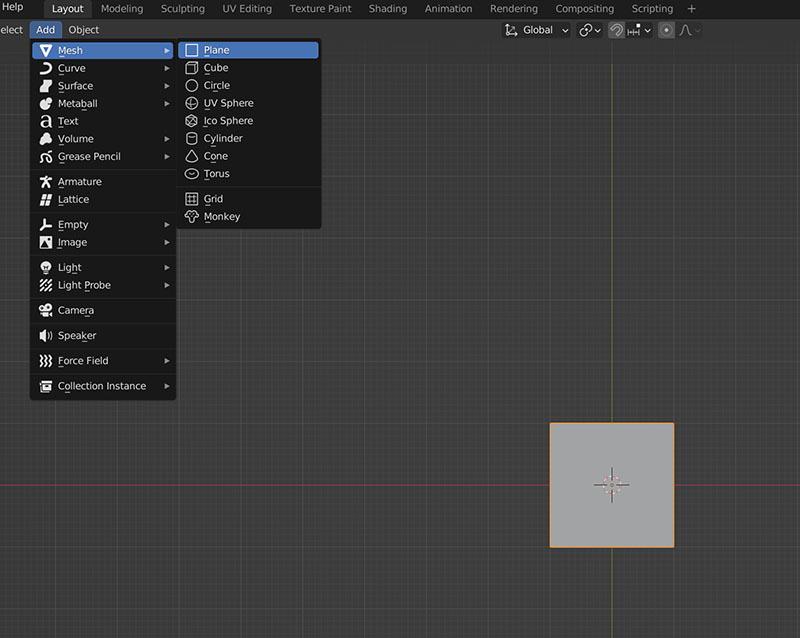
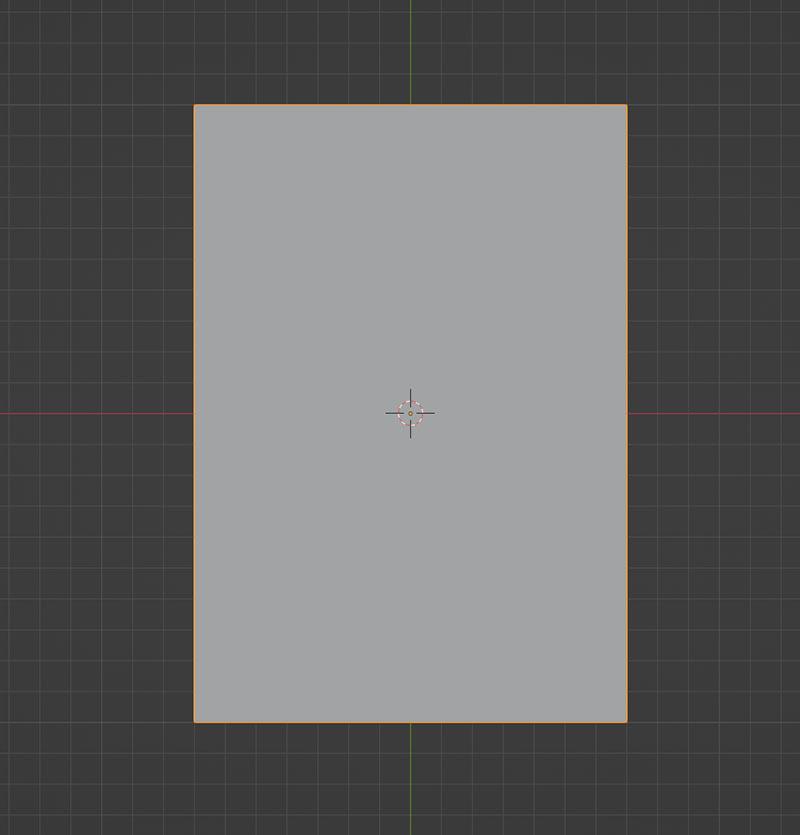
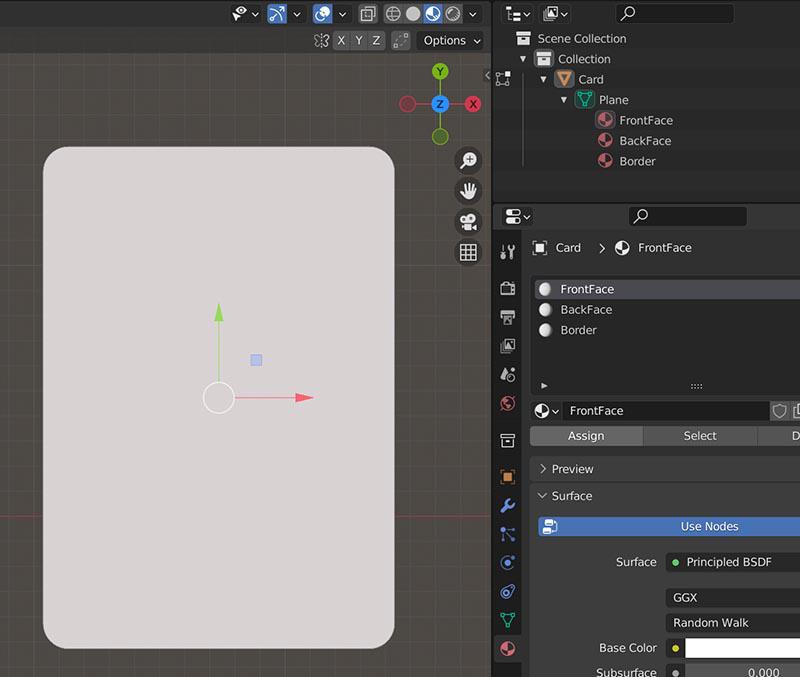
Once installed, I added a plane in an empty scene using the ‘Add > Mesh > Plane’ menu. To make it easier to handle, I switched to the top-down view by pressing ‘7’ on the numeric keypad.
There is no single standard size for a card. A Bridge card measures 57.15 x 88.9 mm, while a Poker card measures 62 x 88 mm. This latter size is known as B8 in ISO 216. Since it is the most well-known, it is the size I will use.
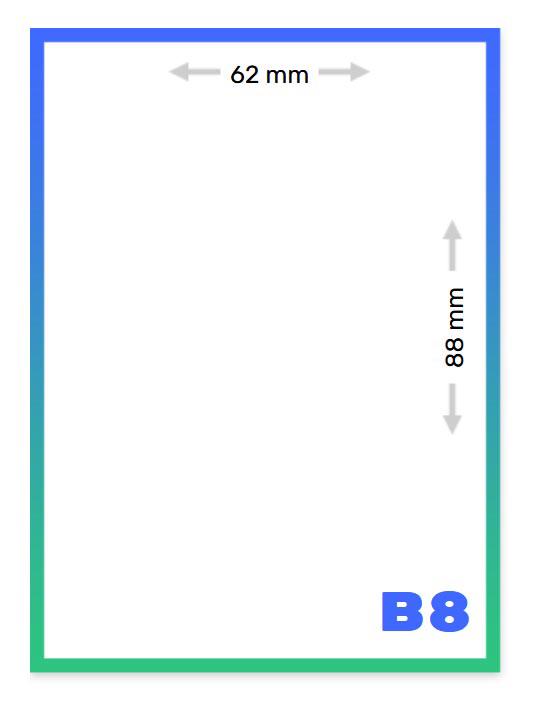
However, I’m not really interested in the size itself, but rather in the width-to-height ratio, or aspect ratio. For a Poker card, this is 0.7 (62 / 88).
To achieve that aspect ratio, select the plane, press ‘S’ then ‘X’, and type ‘0.7’. This will result in the correct proportions.
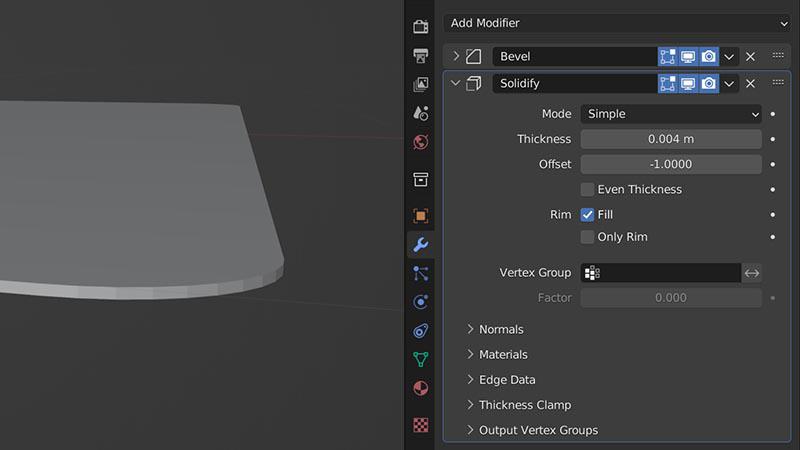
To round the corners, I used the ‘Bevel’ modifier.

To give it some thickness, I added the ‘Solidify’ modifier.
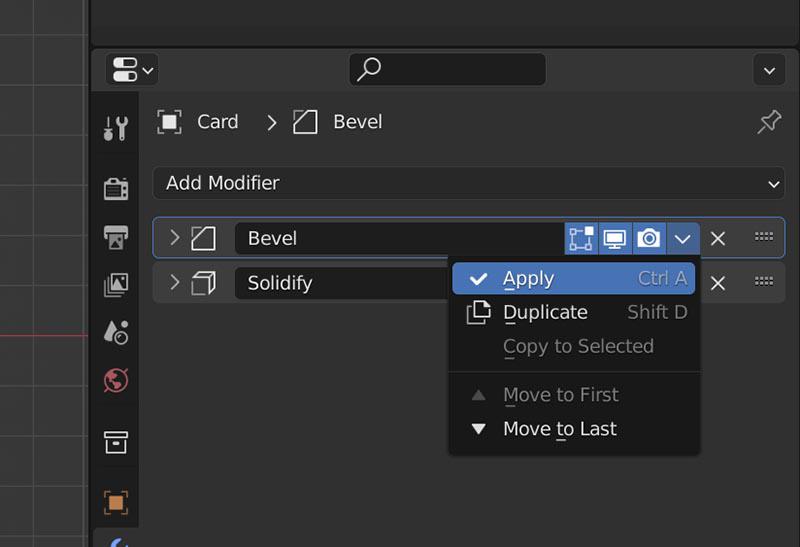
Next, I applied all transformations by pressing ‘Ctrl+A’, ensuring the final scale of the geometry is 1.
I then applied the modifiers as well.
Then it was time for the materials. But first, I created UV coordinates in the ‘UV Editing’ tab by selecting a cube projection.
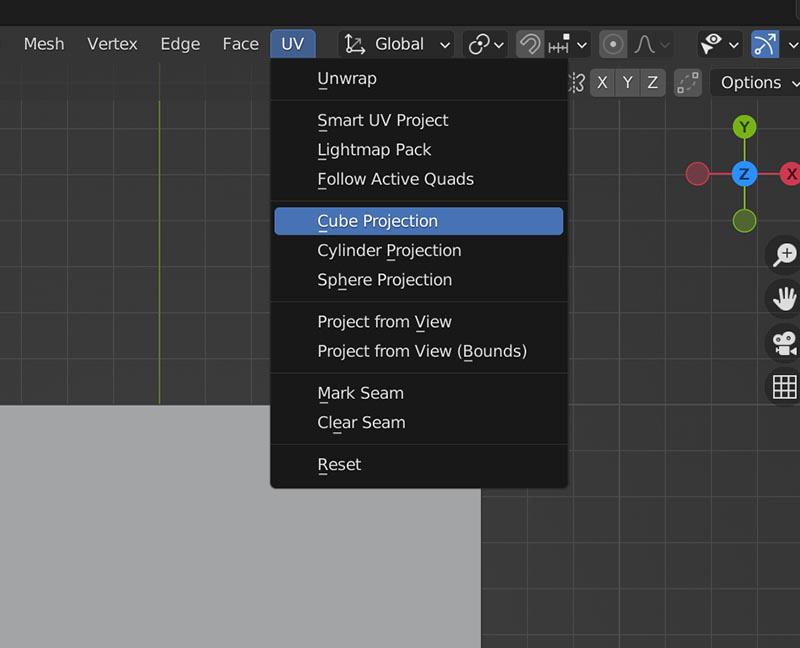
As its name indicates, this tool creates the coordinates by projecting a cube on the model.

It may not be the best option for rounded edges, but it is certainly the easiest. You can manually adjust the coordinates in the window on the left.
In the ‘Shading’ tab, I created three materials: ‘FrontFace’, ‘BackFace’, and ‘Border’. I selected the front face, chose the ‘FrontFace’ material, and clicked the ‘Assign’ button to link them.
By pressing ‘Ctrl + 7’, I switched to the rear view and performed a similar operation for the back.
To assign the border material, simply select the front and back faces and then invert the selection.
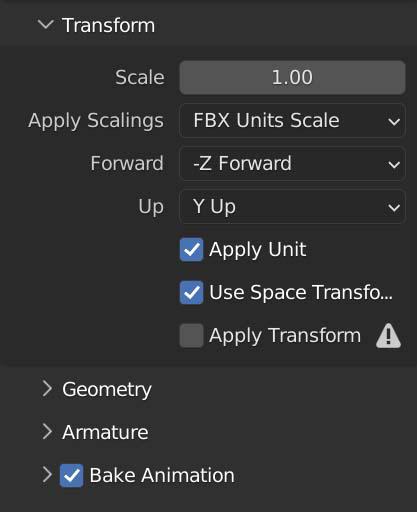
Now, all that remained was to export the model as an FBX file for the Unity project.
The only change I made in the export options was under ‘Apply Scalings’, which I set to ‘FBX Units Scale’ so that the scale would be handled correctly in Unity.
Until next time…
stay gamedev, stay awesome!